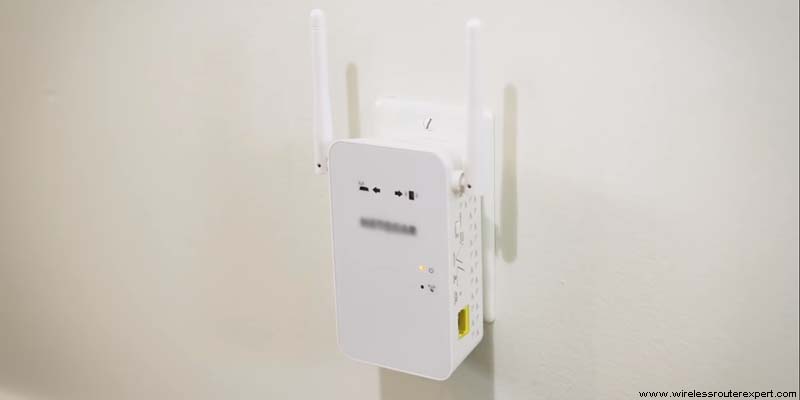
Today, we will guide you on how to set up your Netgear Wi-Fi range extender. The extender comes with a quick guide setup manual that you can go through before start installing your Netgear range extender. The extender has antennas that are completely adjustable so that you can move them and get the best signal strength possible from your router.
On the front side, you have some LED lamps that flash. The one is for WPS setup and the other one is for power. There is an LED light for the router link and on the right side, there is a link light. At the bottom of the extender, there is a factory reset button to restore the router’s settings back to factory defaults.
There is a WPS button on the left side of the extender and we have an “on” and “off” power button.
Read More How to setup Netgear Router With Modem
Setup Netgear Range Extender
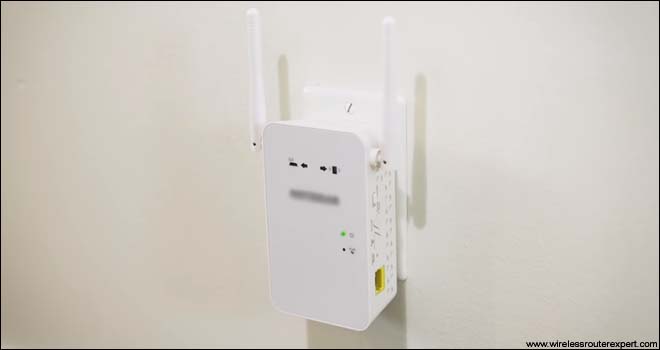
Let’s go ahead and install your Wi-Fi range extender into a wall outlet. When you connect your extender to the wall jack, the power LED light will be a solid amber color.
Now, wait for about 30 seconds and the LED power lamp will turn into a solid green light. Once the light is green, you can go ahead over to a computer and you can then go ahead initiate the extender setup configuration of the Netgear Wi-Fi range extender
First, go down to the bottom taskbar on the right-hand side and click on the Wi-Fi icon. Now, you will be able to see the list of the available networks in that area and you will now need to locate the “Netgear_ext” network which is your range extender network.
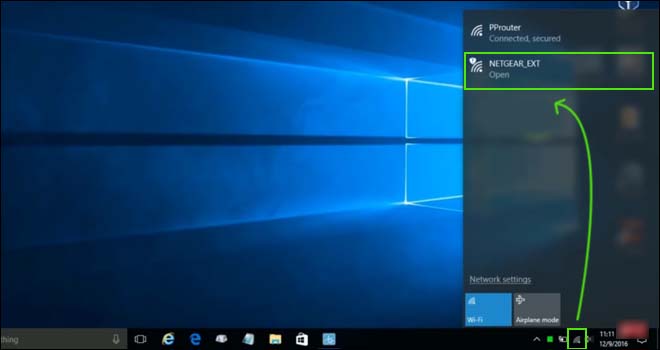
Click on the “Netgear_ext” network and click on connect. Now after some time, browser windows will automatically pop up on your computer prompting you with a “new extender setup” message. In case if the window does not open up automatically on your computer browser, you need to go ahead and open the computer browser like Internet Explorer, Mozilla Firefox, Google Chrome, or Safari.’
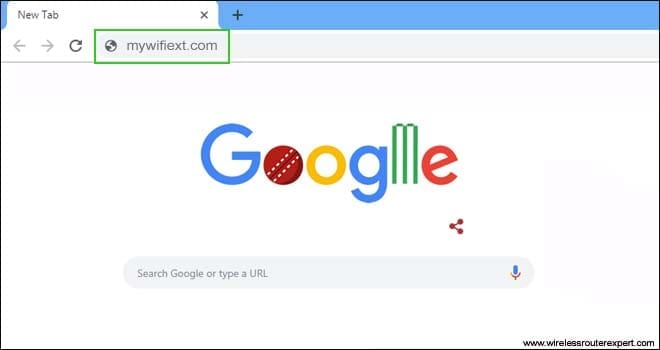
Mywifiext.com
Click on the address bar at the top of the browser and enter “mywifiext.com” and press “enter”. Now you will get a message on the screen that shows “New extender setup”

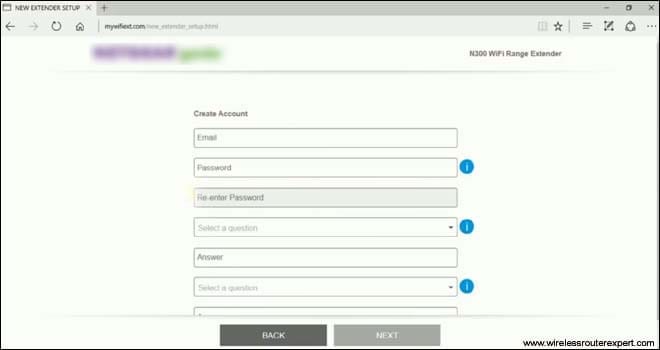
and it will take you to a page wherein you need to create a new user account. You need to fill in all the valid values in the Email box, password and setup 3 security question answers and then click on “next”.
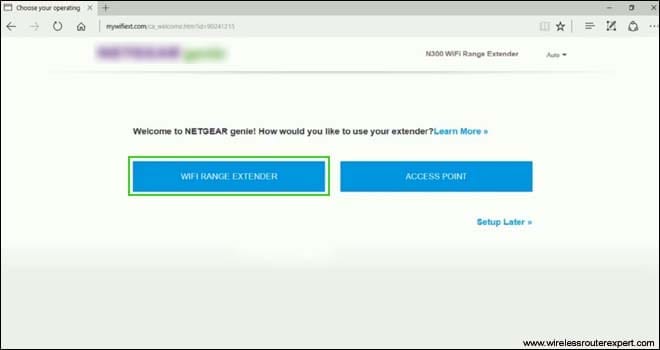
It will now take you to a page where you need to choose an option between “Wi-Fi range extender” or “access point”. We are going to select the “Wi-Fi range extender” option.
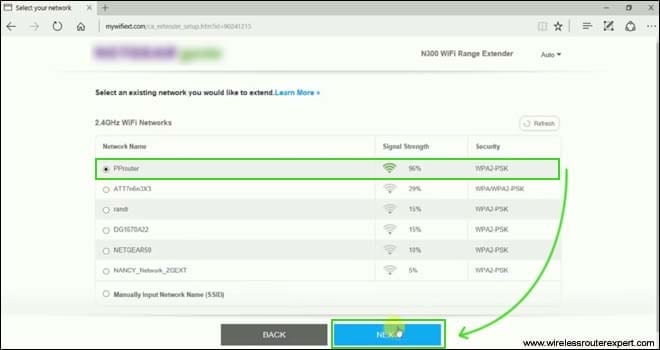
It will scan for the available Wi-Fi networks in that area and provides you with a list where you have to select your router’s network.
Now, it will prompt you to type a network password that you use to connect your wireless devices with your router network. Now, if your selected network name and password are correct, you need to click next and a
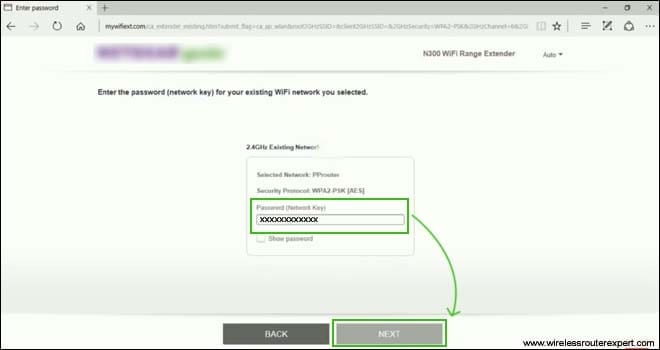
a new extended network with the letters ext, in the end, will be created.
At this point, you can go ahead and change the extender network name or either use the network name given by default. Moreover, it also allows you to change the network password or use the existing password that you use to connect to the router network. If you choose the “None” option during the password setup option, it will create an “open” network.

Configure Extender Settings
Now, it will prompt you to type a network password that you use to connect your wireless devices with your router network. Now, if your selected network name and password are correct, you need to click next and a new extended network with the letters ext, in the end, will be created.
At this point, you can go ahead and change the extender network name or either use the network name given by default. Moreover, it also allows you to change the network password or use the existing password that you use to connect to the router network. If you choose the “None” option during the password setup option, it will create an “open” network however we recommend setting Up a Strong Password.
Once you are done, you can click on “next” and it will apply all your settings. Now, click on next and it will show the summary details of your network like your network name, network password or security type, etc. Click on “continue”.
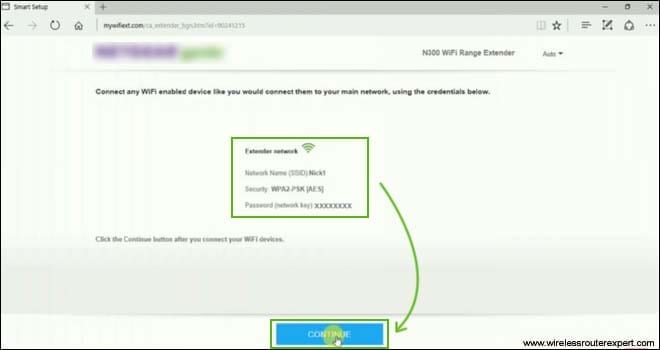
You can now go ahead and connect your wireless-enabled devices to the new Netgear Wi-Fi range extender.
hope this is the solution You were looking for. thanks for your time.