
Android users have access to one powerful tool designed to control excessive data use-Data Saver mode-that helps manage consumption without impacting digital lifestyle. By activating Data Saver mode during streaming sessions or browsing social media pages, this feature helps optimize data expenditure while not impacting digital lifestyle. Now let’s dive in on how you can harness its power on Android device!
Understanding Data Saver Mode
Data Saver mode in Android helps reduce background data consumption from apps and the system, helping reduce mobile data use when not connected to Wi-Fi. By restricting background app activity and postponing updates/tasks which consume large amounts of bandwidth, Data Saver ensures your plan lasts longer.
The Benefits of Data Saver Mode
- Reduced Data Usage: Primarily, it helps in cutting down the data consumption by apps running in the background.
- Cost Savings: Less data usage means lower data bills. It’s particularly beneficial for users with limited data plans.
- Customizable Settings: Users have the freedom to determine which applications can bypass Data Saver restrictions in order to ensure key apps still receive updates in real-time.
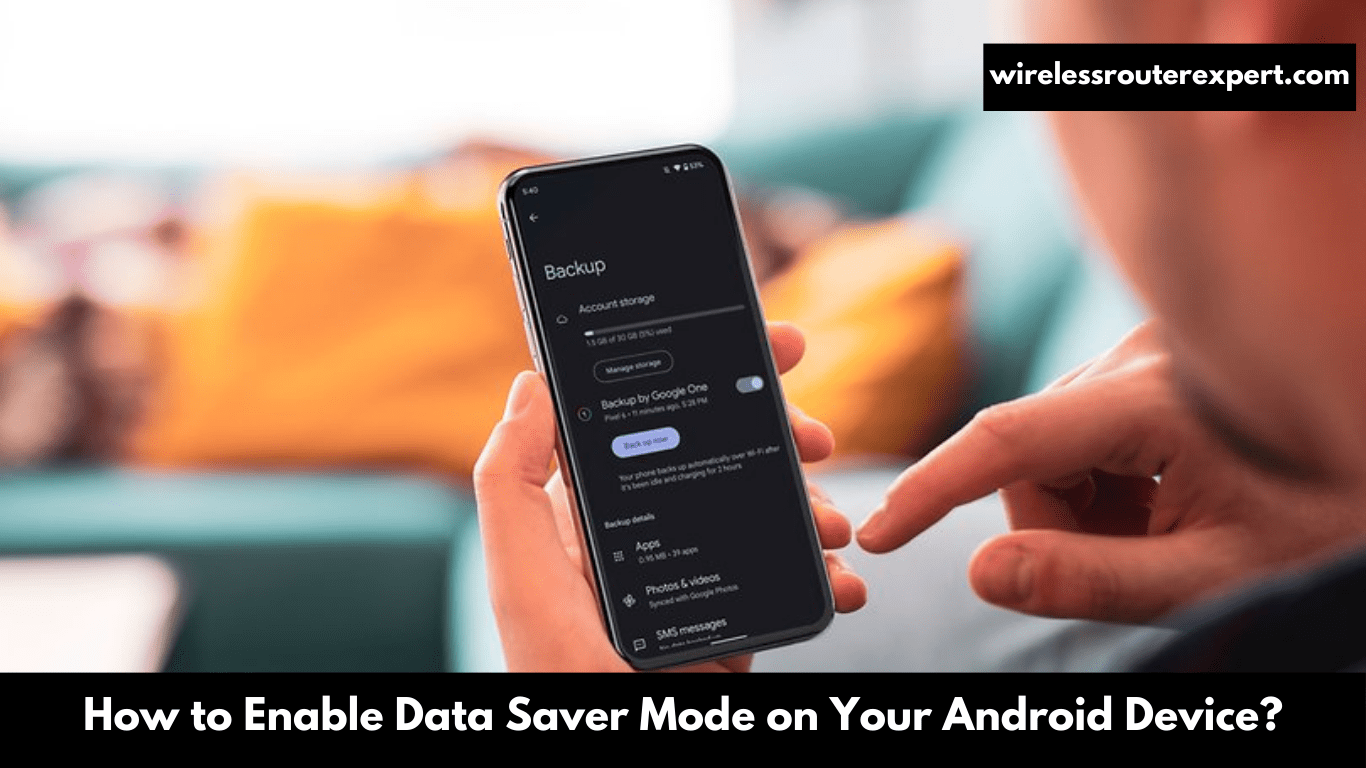
How to Enable Data Saver Mode on Your Android Device
Turning on Data Saver mode is a straightforward process. Follow these steps to enable it and start saving data immediately:
- Open Your Device’s Settings: The first step is to access the settings menu on your Android device. This is usually represented by a gear icon on your home screen or app drawer.
- Navigate to Network & Internet: Scroll through the settings menu until you find the ‘Network & Internet’ option. Tap on it to proceed.
- Select Data Usage: Within the ‘Network & Internet’ settings, look for the ‘Data Usage’ option and tap on it. Here you’ll find various settings related to your mobile data consumption.
- Activate Data Saver: In the ‘Data Usage’ section, you should see an option for ‘Data Saver’. Tap on it, and then toggle the switch to turn on Data Saver mode.
Customizing Data Saver Mode
After activating Data Saver mode, it may be worthwhile allowing certain apps that rely on timely notifications or updates such as email clients and messaging apps to use data in the background. Doing this allows them to continue providing timely notifications.
- Allow App While Data Saver on: Inside the Data Saver settings, there’s an option to select apps that can bypass data restrictions. Simply tap on ‘Unrestricted data access’ and choose the apps you wish to exclude from Data Saver mode.
When to Use Data Saver Mode
Data Saver mode is incredibly useful in various scenarios, such as:
- While Traveling: When roaming charges are exorbitant, and you’re relying on your mobile data plan.
- Towards the End of Your Billing Cycle: If you’re nearing your data limit before the month resets.
- In Low Connectivity Areas: To prevent apps from consuming data in the background when the connection is weak, thereby saving data for essential tasks.
Turning Off Data Saver Mode
There might be times when you need to disable Data Saver mode, such as when you’re back on a Wi-Fi network or when you’ve purchased additional data. Turning it off is as simple as reversing the process:
- Go back to the ‘Data Saver’ settings in the ‘Data Usage’ section and toggle the switch to the off position.
Conclusion: Embrace Efficient Data Usage
Data Saver mode on Android devices demonstrates Android’s dedication to user-centric features that meet real world needs. By activating Data Saver mode, users can significantly decrease their data consumption – and ensure a great digital experience without overspending on mobile data charges. It doesn’t compromise your digital experience either – rather, its about making smart choices which fit in seamlessly with both lifestyle and budget needs. Get ready for greater control of data consumption today – start using Data Saver mode today to take charge!