
The topic of today’s article will be Changing UPnP (universal plug and play) settings. As it is one of the most known issues regarding modems. This setting helps a user to connect with different networks if needed. It’s a must-needed thing if we play multiplayer games or use Skype kinds of software for work purposes.
Enabling UPnP is essential for these kinds of works and disabling it as well because we never know when malware or virus can affect our PC. It’s better to know all the settings and use them if needed.
We are sharing a brief process of changing the UPnP settings with Arris Modem brands. We are gonna discuss the process in two different segments as enabling and disabling UPnP settings.
Enabling UPnP settings of Arris Modem
- Search for “Run” in the start menu of windows.
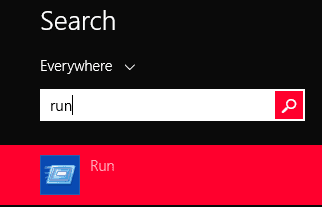
- Opening the “Run” and pressing “windows key” and “r” together at the same time.
- In the new window now we need to type “cmd” and press enter.
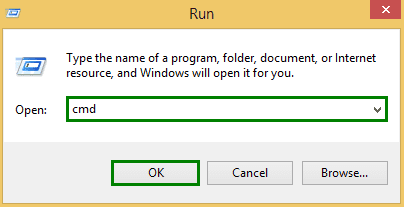
- Now “cmd” (command prompt) will open on the screen.
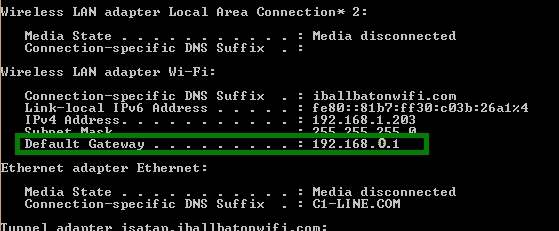
- Inside the command prompt, we need to type “ipconfig” then press enter.

- We will get the “default gateway IP address” there which we need to change the UPnP settings.
- Now we need to open the browser we use and write the IP address ( the “default gateway IP Address”.) we got from the command prompt on the search bar of the browser and press enter.
- Then a web page of Arris Modem will open. There we need to type two pieces of information, 1st is the Username, and 2nd is the password ( generally, the default username is “admin”, and the default password is “password” for Arris Modem) and press “enter” to move forward.

- On the next web page we need to select the “Advanced” option and after that “Device Discovery”.
- Now we will get the options for UPnP settings.
- “Enable” and “Disable” these two options will be there, and we need to click on “enable”.
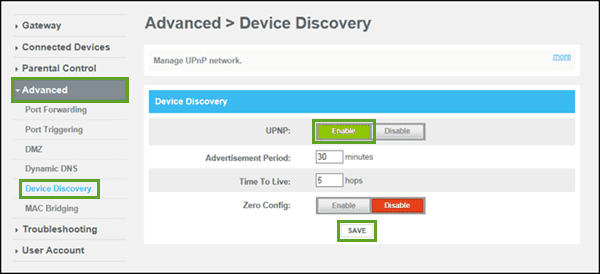
- Finally, we can click to save and restart the arris modem.
- Our UPnP is enabled now
these methods should help. if you get a browser error such as err_cache_miss on google chrome please understand it might be the cause of the browser and follow the link to resolve that or ignore it for now.
Disabling UPnP settings for Arris Modem
Sometimes enabling the UPnP settings may allow viruses and malware to harm or attack our computer so it’s better to know how to disable it.
- Type “Run” in the search menu.
- After opening the “Run” we need to press “R” and “windows key” together.
- A new window will open and here we need to write “CMD” ( means Command Prompt) and press enter.
- Command prompt will open and here we need to write “ipconfig” and press “enter”
- The “ Default gateway IP address” will show up on the screen now.
- We need to copy that “Default gateway IP address”.
- Now we have to open the web browser we use and paste to “Default gateway IP address” on the address bar of our web browser and press enter.
- The Arris modem web page will open now.
- Here the web page will ask two pieces of information as “the user name” and “the password” and we need to write these pieces of information and press and press “enter”
- On the next page, we have to select the “Advanced” option and then “Device Discovery”.
- Now UPnP settings page will open and with two options as “Disable” and “Enable”.

- Finally, We need to select “Disable” and save the settings.
- We have to restart our Arris Modem and start the work as usual.
Though the Arris modem has two different kinds of ways to change the UPnP settings, we have only discussed the much effective and easy form here.
These are all the steps we need to know to change the UPnP settings of an Arris modem. We hope this can help you. If still, you are facing issues to change the settings we will strongly recommend you contact the help desk of your internet service provider or email them regarding the issue.
Thank you for visiting our site. We hope this article will help you. All the best!